How to find pipes in a wall before you drill (and the studs too)
Hanging a TV, fitting kitchen shelves or putting up a heavy mirror all start the same way: one hole in a wall you can't see into. Most of the time it's fine. Once in a while the drill goes through a heating pipe or a water line, and a ten-minute job becomes a wet wall and a plumber's bill. Knowing how to find pipes in a wall takes that risk down a long way.
A thermal camera won't show you everything behind a wall, but it shows the things most likely to ruin your day: hot pipes, heating lines and, on a cold day, the studs. Here's how to use it, what it misses, and the 15-minute check to do before any hole you're not sure about.
Short answer: To find pipes in a wall, start with where they usually run: above and below sinks, tubs and radiators. Then run the hot water and scan with a thermal camera, which shows hot pipes as bright lines. A stud finder with a metal mode can catch metal pipes. Cold plastic pipes and cables need other checks.
Where do pipes usually run inside a wall?
Before you pick up any tool, work out where a pipe is likely to be.
- Above and below fixtures. Sinks, toilets, tubs, showers and washing machine hookups all need supply lines, and most need a drain. The wall directly behind them is the riskiest, and so is the wall directly above or below them on another floor.
- Back to back. A wall that looks empty on your side may have a bathroom or kitchen on the other side.
- Up from the basement or down from the attic. If you can get into a basement, crawl space or attic, look for pipes passing through the top or bottom of the wall. They show which stud bay to worry about.
- Near radiators. Heating pipes come up through the floor or run along the wall to reach them.
Don't assume a pipe runs in a straight line from a fixture. Treat this as a map of where to look, not proof of where it is.
What can you use to detect water pipes in walls?
No single tool finds everything.
| Tool | Good at | Misses |
|---|---|---|
| Stud finder with a metal mode | Metal pipes close to the surface, studs, nails | Plastic pipes, anything deep |
| Handheld metal detector | Copper and steel pipes | Plastic pipes; nails and metal mesh can confuse it |
| Thermal camera | Pipes that are warmer or colder than the wall, in any material | Pipes at room temperature, most cables |
| Inspection camera | Whatever you can see from a small hole | Anything out of its line of sight, and it needs a hole |
If you only plan to do this once, our guide on whether to rent or buy inspection tools can help you decide.
What can a thermal camera find behind a wall?
A thermal camera sees the temperature of the wall's surface. Something inside the wall shows up only when it makes the surface in front of it warmer or colder. That's why a pipe doesn't show until water moves through it, and why reading a thermal image is more about patterns than exact numbers.
| Behind the wall | Will a thermal camera show it? |
|---|---|
| Hot water pipe (with the hot water running) | Yes, clearly, as a bright line |
| Heating pipe or radiant floor or wall heating (with the heating on) | Yes, clearly |
| Cold water pipe | Sometimes: run cold water for a few minutes in summer, or look on a cold day |
| Wooden or metal studs on an outside wall | Often, on a day that's much colder or warmer outside than in |
| Electrical cables | Usually not: a cable at normal load barely warms up |
| Drain pipes | Only while warm water is running down them |
So the camera is the right first tool for pipes and heating, a useful second tool for studs, and not a tool for cables. For cables you need a different detector, and we'll come to that.
How do you find pipes in a wall with a thermal camera?
Hot pipes are the easiest thing to see through a wall, so make them hot:
- If you're drilling near a kitchen, bathroom or laundry room, run the hot water on the nearest fixture for a few minutes.
- If the wall has a radiator nearby, or you have radiant floor or wall heating, switch the heating on for 15–20 minutes.
- Scan the whole wall from 3–6 ft (1–2 m) back first, then move in.
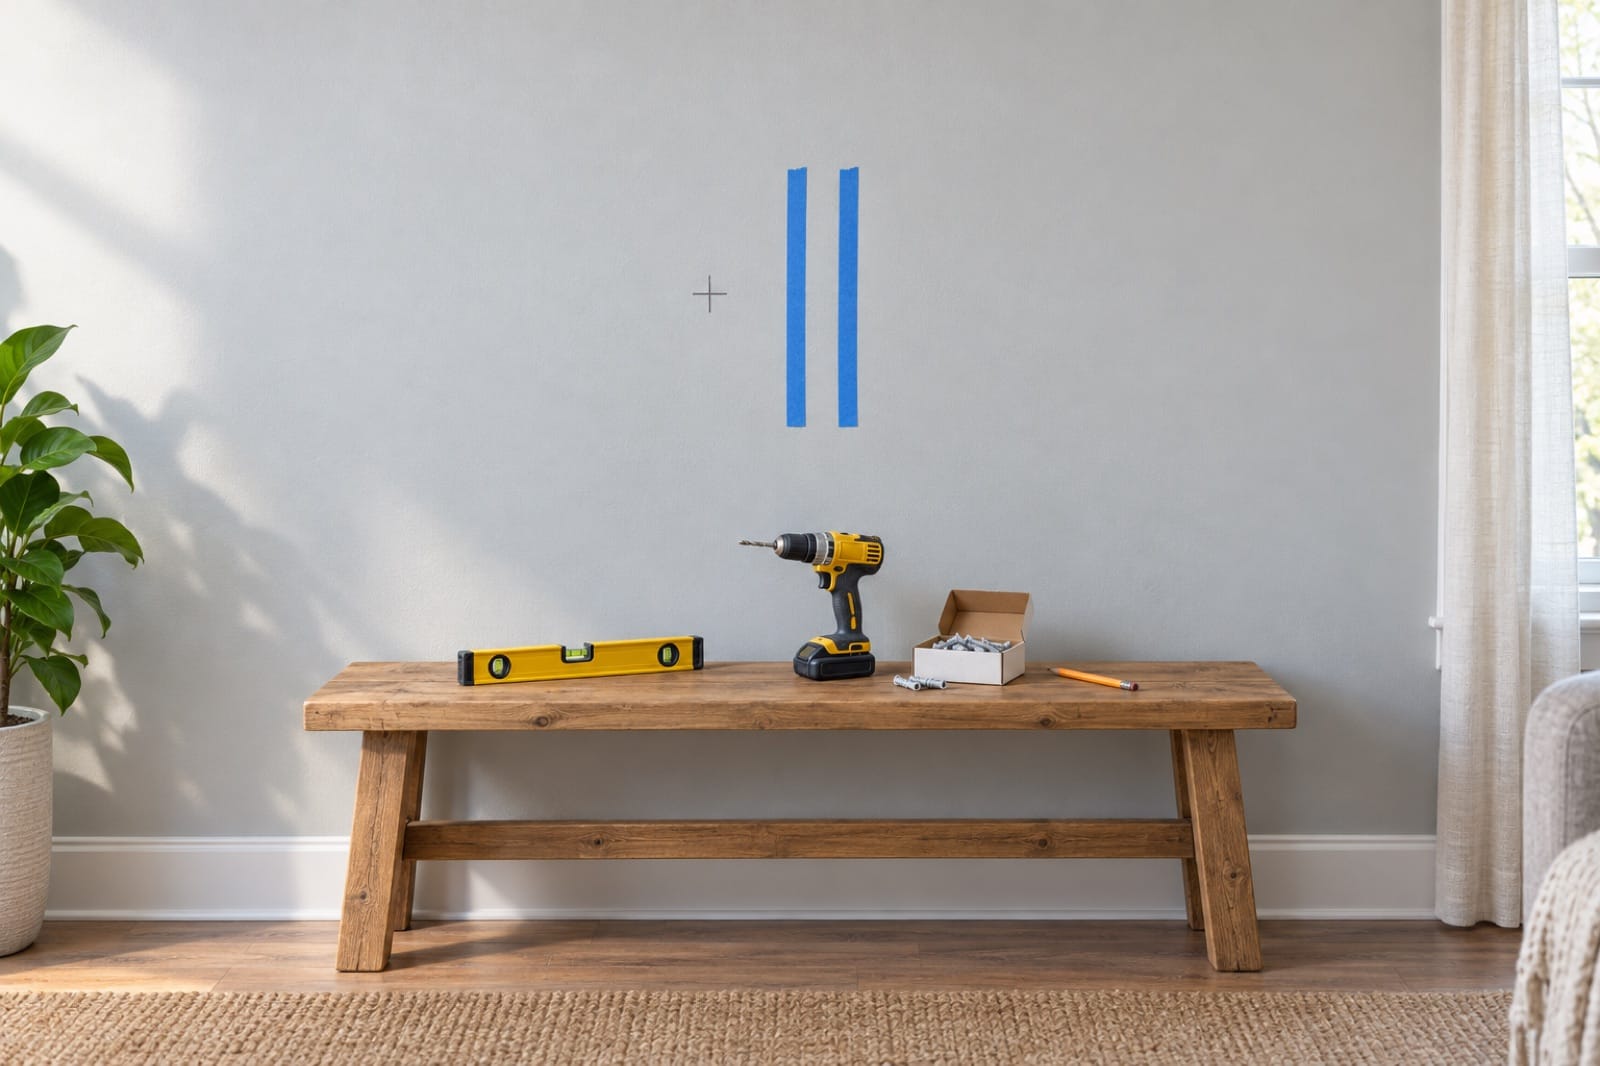
A hot pipe shows as a bright, straight line, often running up from the floor or across from a fixture. Mark both edges of the line on the wall with masking tape before you turn the water or heating off.
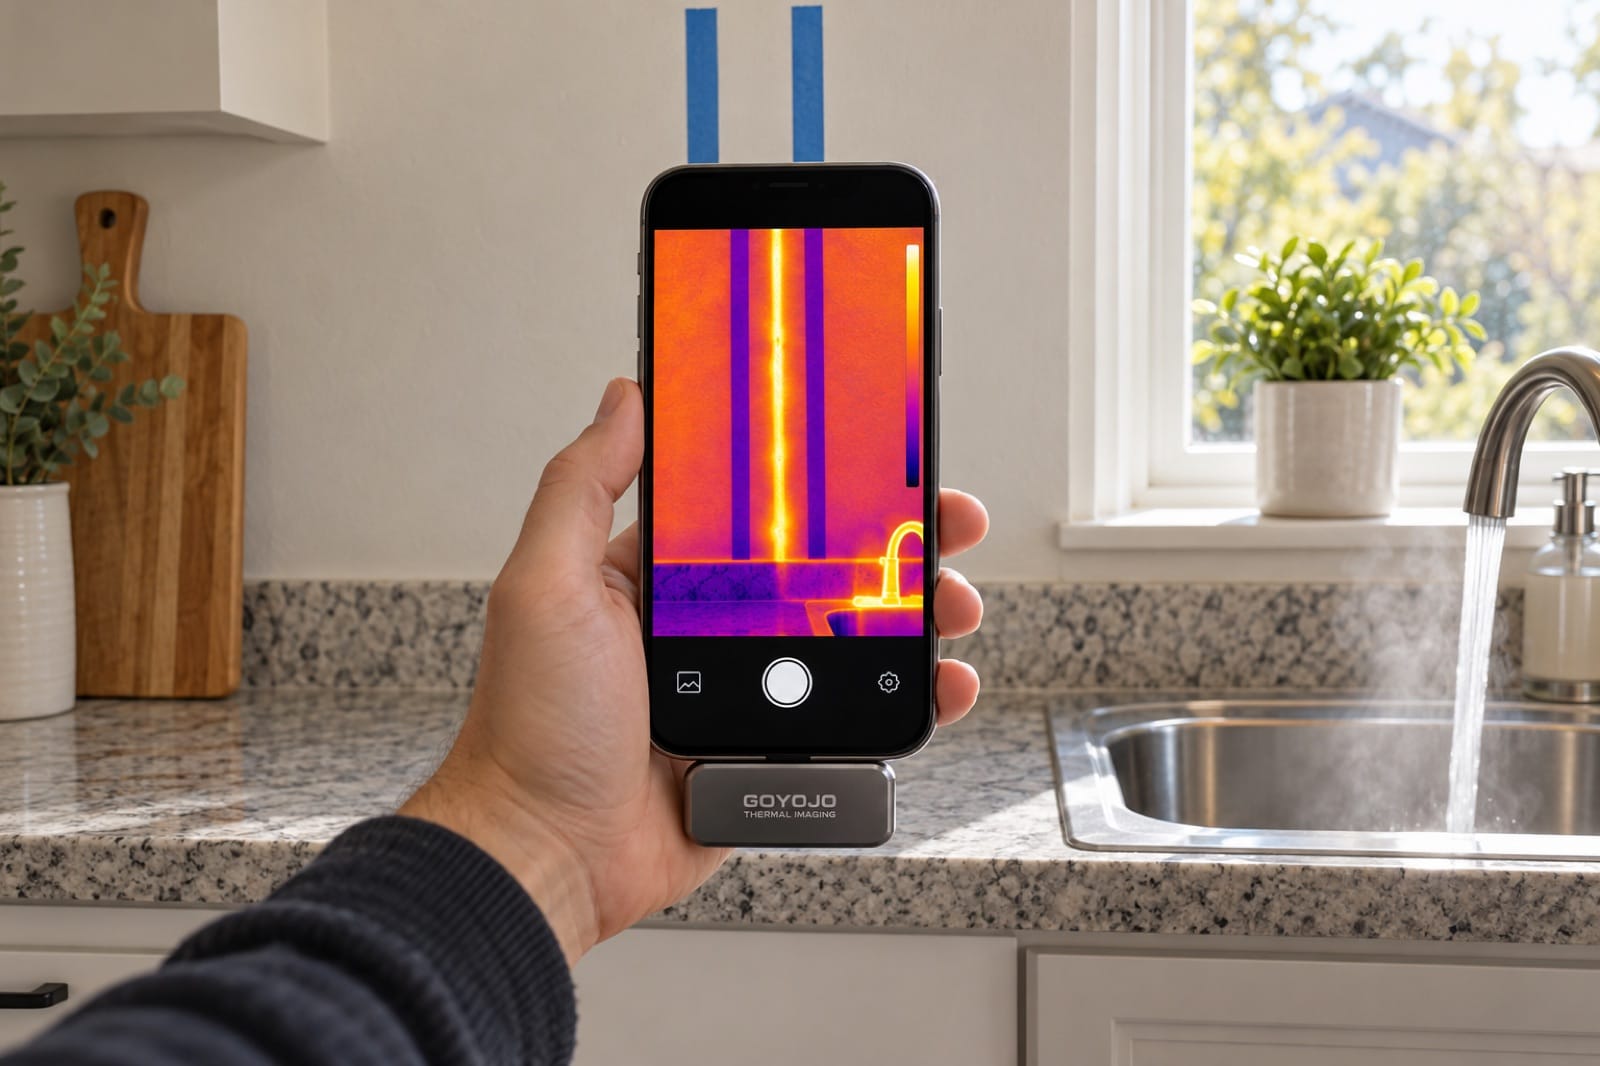
Illustration: with the hot water running, the pipe lights up. Tape both edges before you turn the water off.
With Spark Pro, a single 15 mm (about ⅝ in) pipe is sharp from about 1.4 m (4.5 ft) away, so you see the whole route across the wall in one frame. With Spark, you'll need to work within about half a meter (1.5 ft) and follow the line in sections.
How do you find studs in a wall?
On an outside wall, studs conduct heat better than the insulation between them. On a cold day they show as slightly cooler vertical lines at regular spacing; on a hot day with the AC on, slightly warmer ones.
- In most homes studs are 16 or 24 in (about 400 or 600 mm) apart, center to center. Once you find two, the rest usually follow the same spacing.
- Screws and nails in the drywall often show as a column of small dots along the stud.
- On an inside wall, with the same temperature on both sides, studs may not show at all. Use a stud finder or a magnet to find the screws instead.
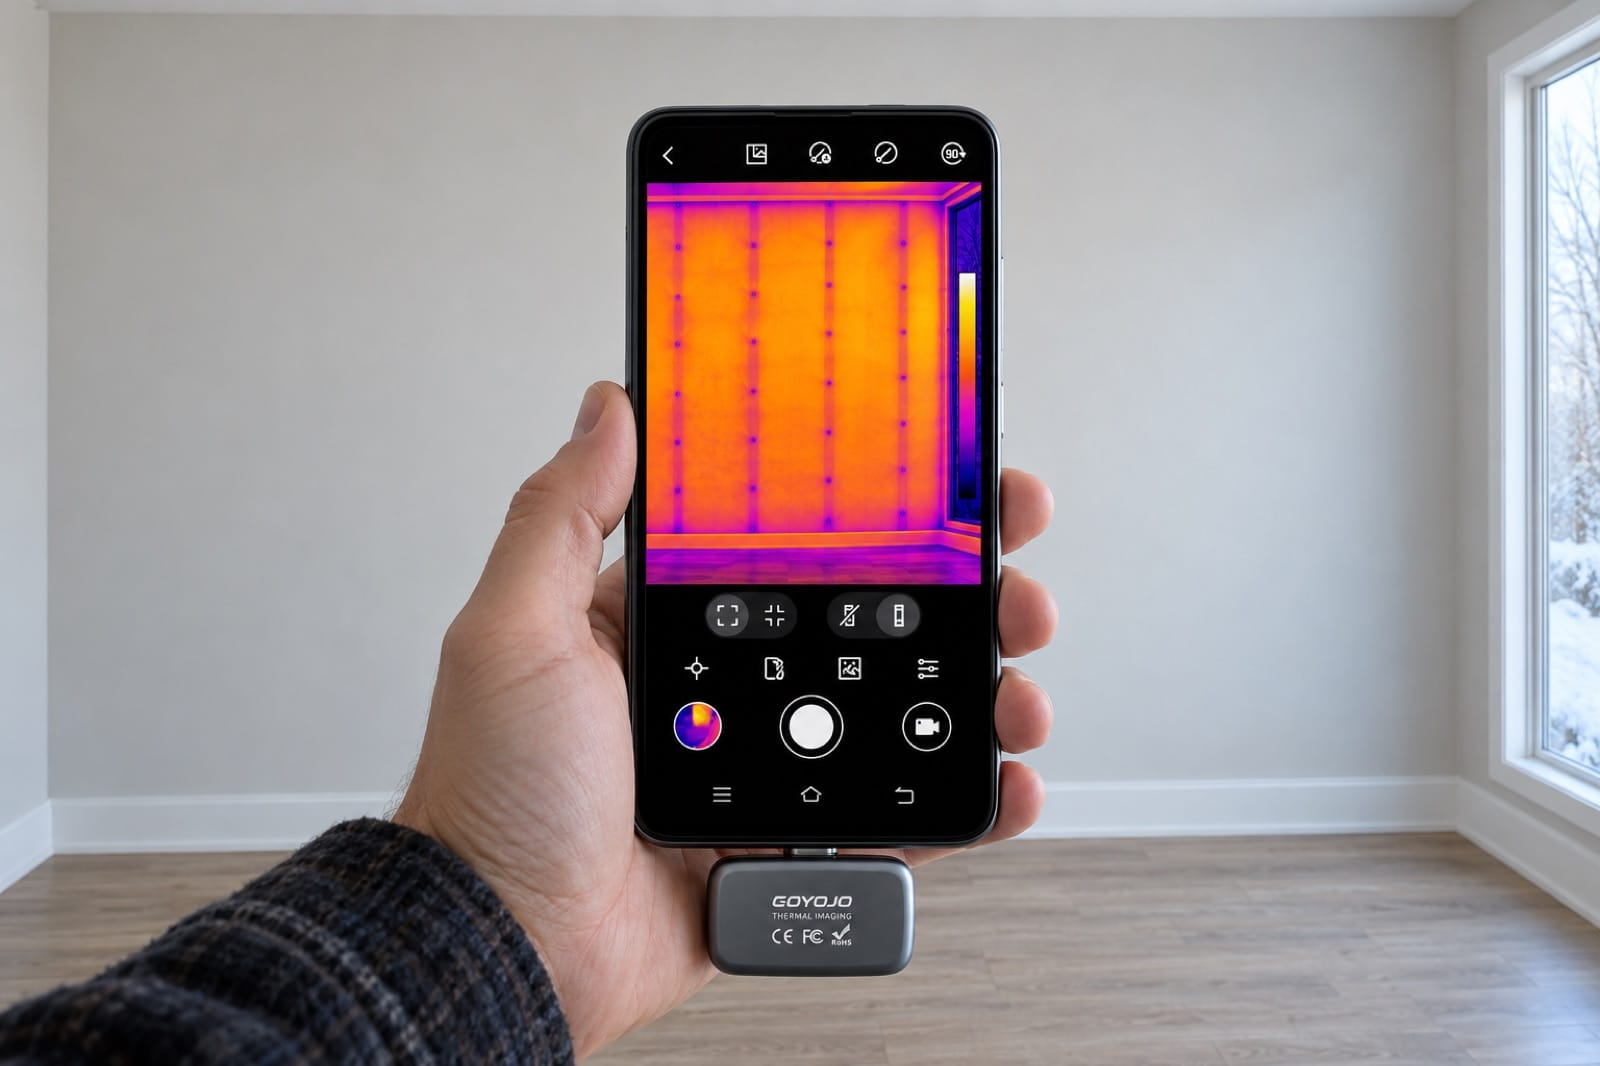
Illustration: on a cold day the studs in an outside wall show as cooler lines, with the drywall screws as dots.
A few low-tech checks work on any wall:
- Knock. A hollow sound usually means a gap between studs, and a duller sound means you're on or near one.
- Use the outlets. Many outlet boxes are fixed to the side of a stud, so tap around them to find out which side.
How do you check for cables behind a wall?
This is where the thermal camera stops helping. Cables in a wall rarely get warm enough to show, so a blank thermal image doesn't mean a wall is clear.
What to do instead:
- Look at the outlets and switches. Cables usually run vertically above and below them and horizontally between them. Don't drill directly above, below or beside an outlet or switch.
- Use a cable detector (a stud finder with a live-wire mode, or a separate AC voltage detector) and scan the spot before you drill.
- Turn off the circuit at the electrical panel for the room you're drilling in. It doesn't stop you hitting a cable, but it makes it far less dangerous if you do.
- Check your local wiring rules if you're unsure. Where cables are allowed to run differs between countries and between old and new houses, so don't rely on a rule from somewhere else.
How do you look inside a wall before drilling a big hole?
For a large mount, such as a TV bracket or a heavy cabinet, you can check behind the wall with an inspection camera before you commit.
- Choose a spot where a small hole won't matter, such as one that will be hidden behind the bracket.
- Drill a small pilot hole, about 8 mm (5/16 in), only through the drywall. Stop as soon as the bit goes through.
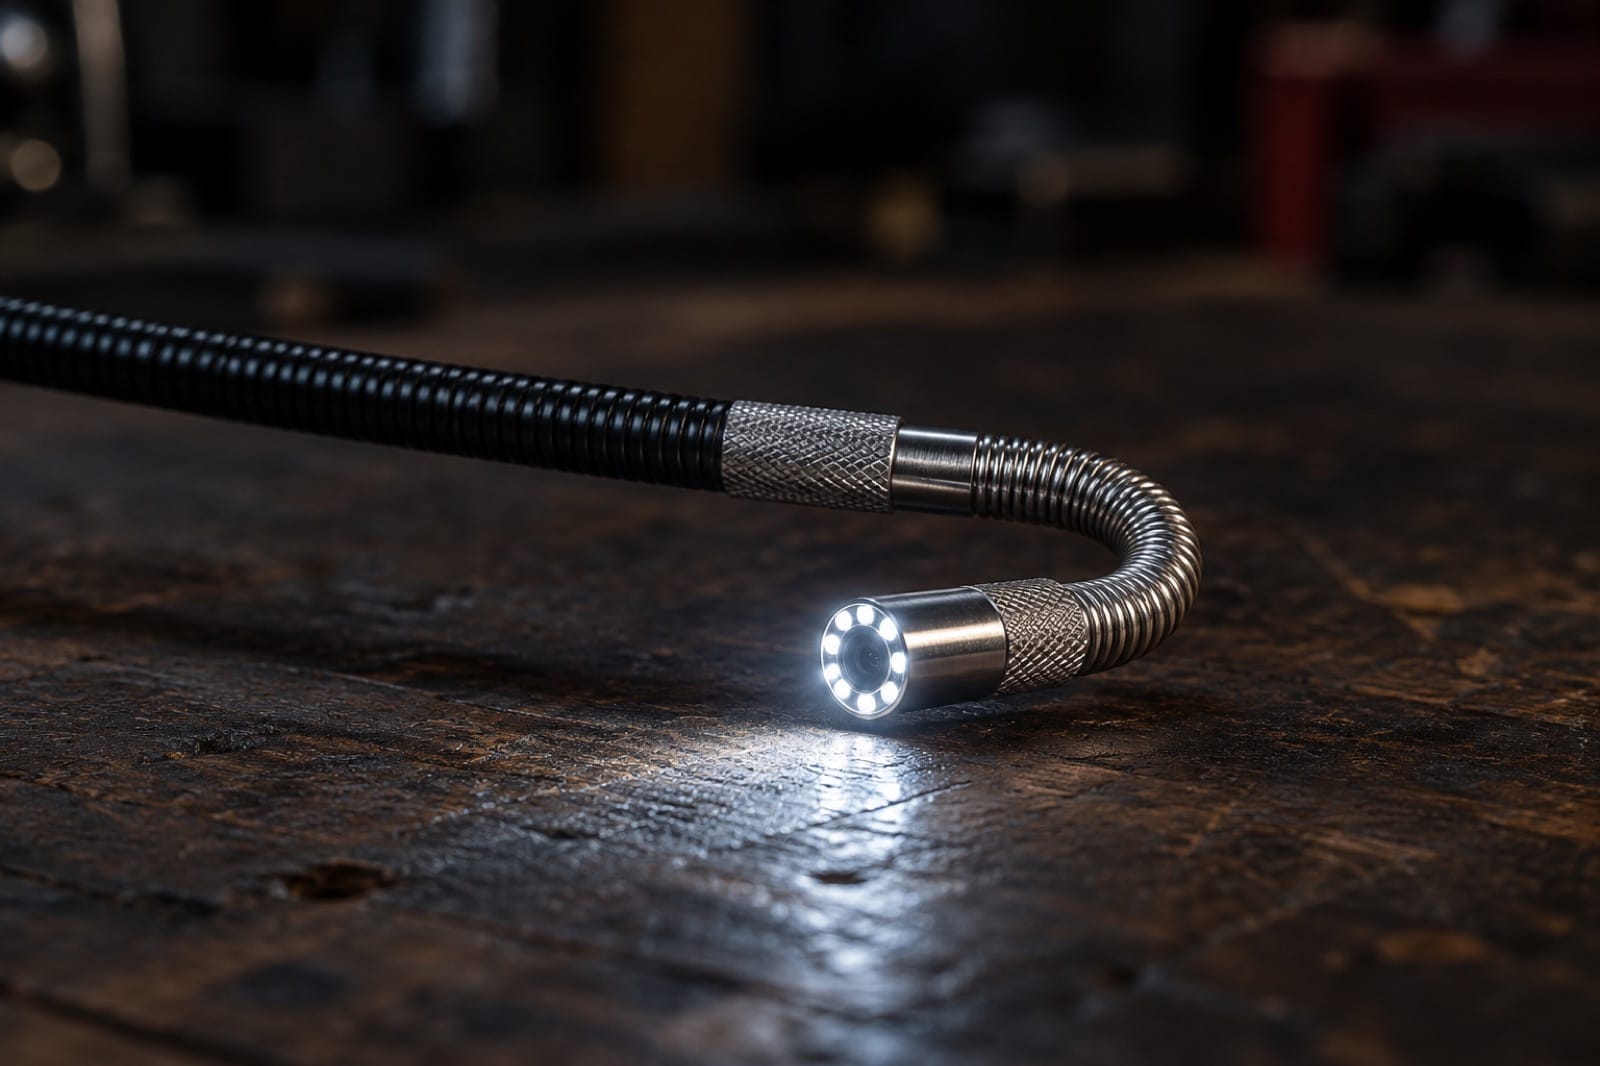
- Slide the tip of Reach 360 through the hole and steer it up, down and sideways. Its 6.2 mm tip bends up to 180° each way, so you can look along the cavity in both directions.
You'll see the back of the drywall, any pipes or cables nearby, the insulation and the nearest stud. If something is in the way, move the bracket and fill the pilot hole.
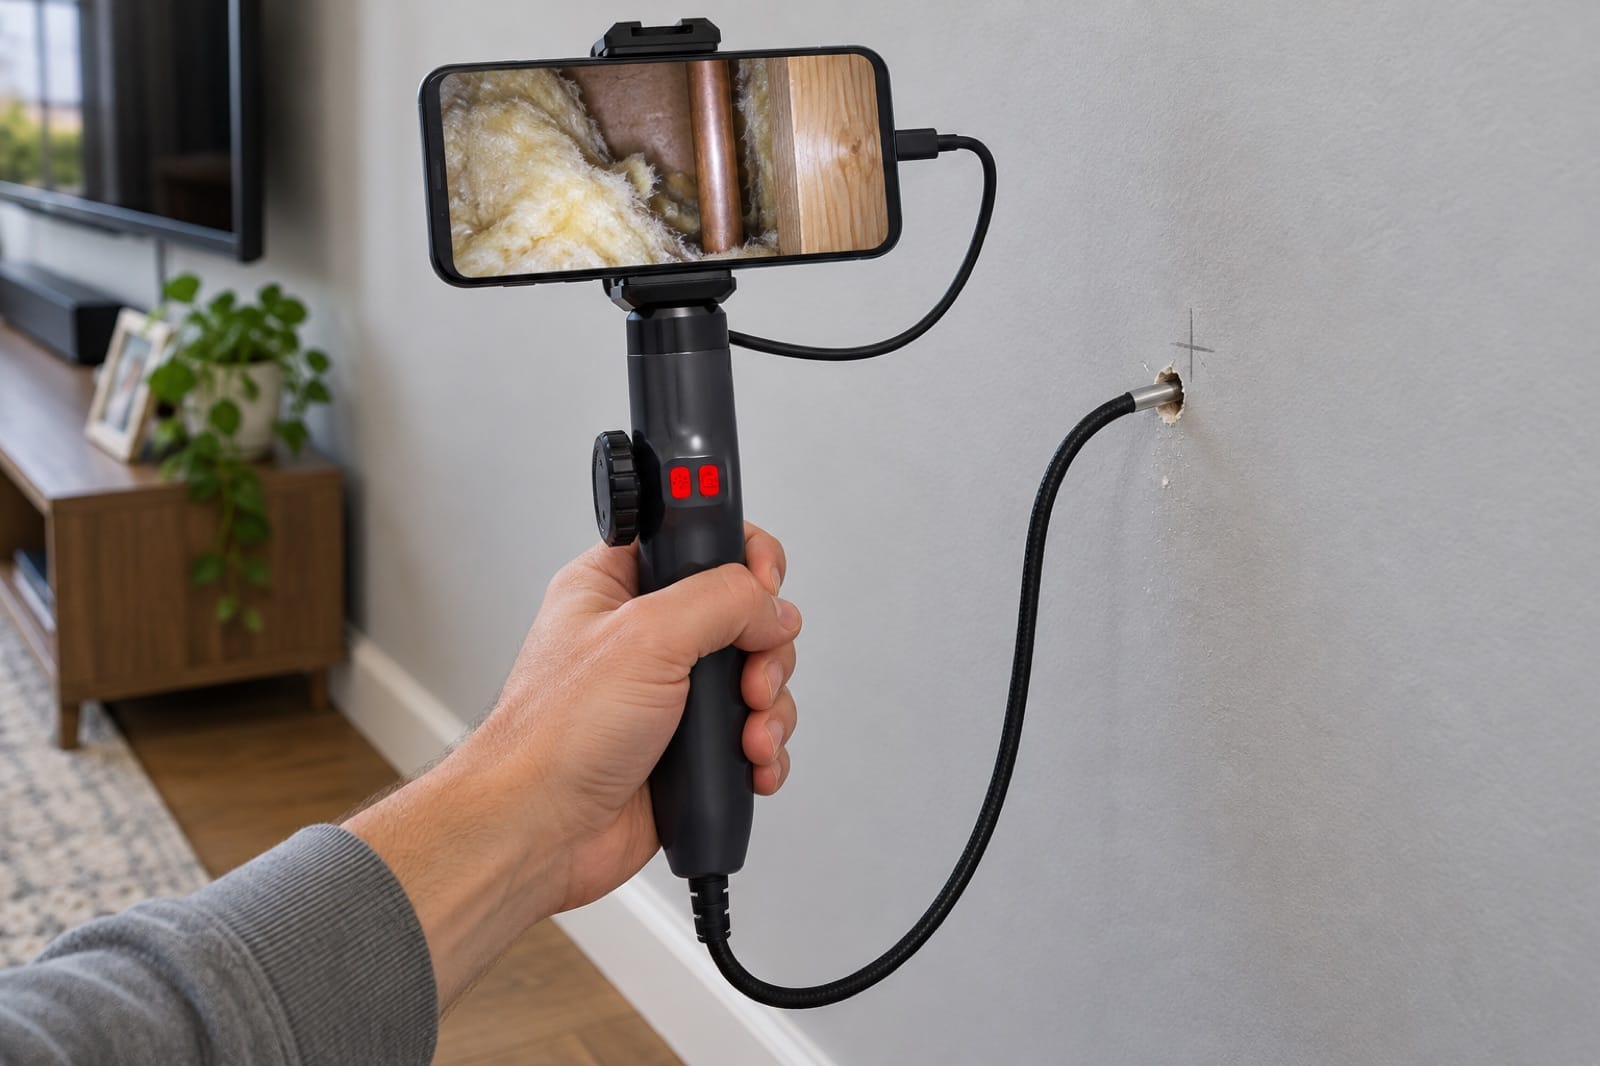
Illustration: an 8 mm hole is enough to look inside before you drill the big ones.
Not sure which tool fits your job? Here's how to choose between a thermal camera, a moisture meter and an inspection camera, and what to look for in an inspection camera for plumbing.
How do you drill safely once you've picked a spot?
- Drill slowly and use a drill stop or a piece of tape on the bit, so you only go as deep as the anchor needs.
- In tile, start without hammer mode and use a tile bit.
- If you hit metal unexpectedly, stop. It might be a nail plate protecting a pipe or cable, which is a sign that you're in exactly the wrong place.
- If you do hit a pipe, turn off the water at the main shutoff valve right away and call a plumber. If you hit a cable, don't touch the drill or the wall, switch off the main breaker at the electrical panel and call an electrician.
If a nicked pipe shows up later as a damp patch, our guide to finding a water leak behind a wall covers what to do next.
The 15-minute check
- Hot water or heating on → scan the wall with the thermal camera → tape the pipes.
- Scan for studs (on an outside wall, on a cold or hot day).
- Look at outlets and switches → cable detector → circuit off.
- For heavy mounts: small pilot hole → inspection camera.
- Drill to depth, slowly.
Frequently asked questions
How do I know if it's safe to drill into a wall?
You can't be completely certain without seeing inside, but you can make it far safer. Check what's on the other side of the wall, stay away from the lines above and below fixtures and outlets, scan with hot water running, and use a cable detector. For a heavy mount, look through a small pilot hole first. If two checks disagree, pick another spot.
How do you find plastic or PEX pipes in a wall?
Plastic pipes are invisible to metal detectors and to the metal mode on a stud finder. If the pipe carries hot water or heating, a thermal camera can still show it, because the camera reads the warmth at the wall's surface rather than the pipe material. Cold plastic lines are harder. Use the likely routes from fixtures, then check with an inspection camera through a small hole.
Can a stud finder find pipes in a wall?
Sometimes. A stud finder with a metal mode can pick up copper or steel pipes close to the surface, and a basic one may show a pipe as if it were a stud, which is easy to misread. It won't reliably find plastic pipes. Treat a stud finder reading as one clue, then confirm with a second method before you drill.
How do you locate water pipes in a concrete wall?
Start with the fixtures on either side of the wall, as you would with drywall. Run hot water for longer than usual, then scan with a thermal camera, since heat takes time to work through concrete and may show only as a faint, wide band. Metal detectors can get confused by steel reinforcement. If the wall is critical, a professional locating service is the safer choice.
The tools in this guide
Prices are on each product page, in your local currency.
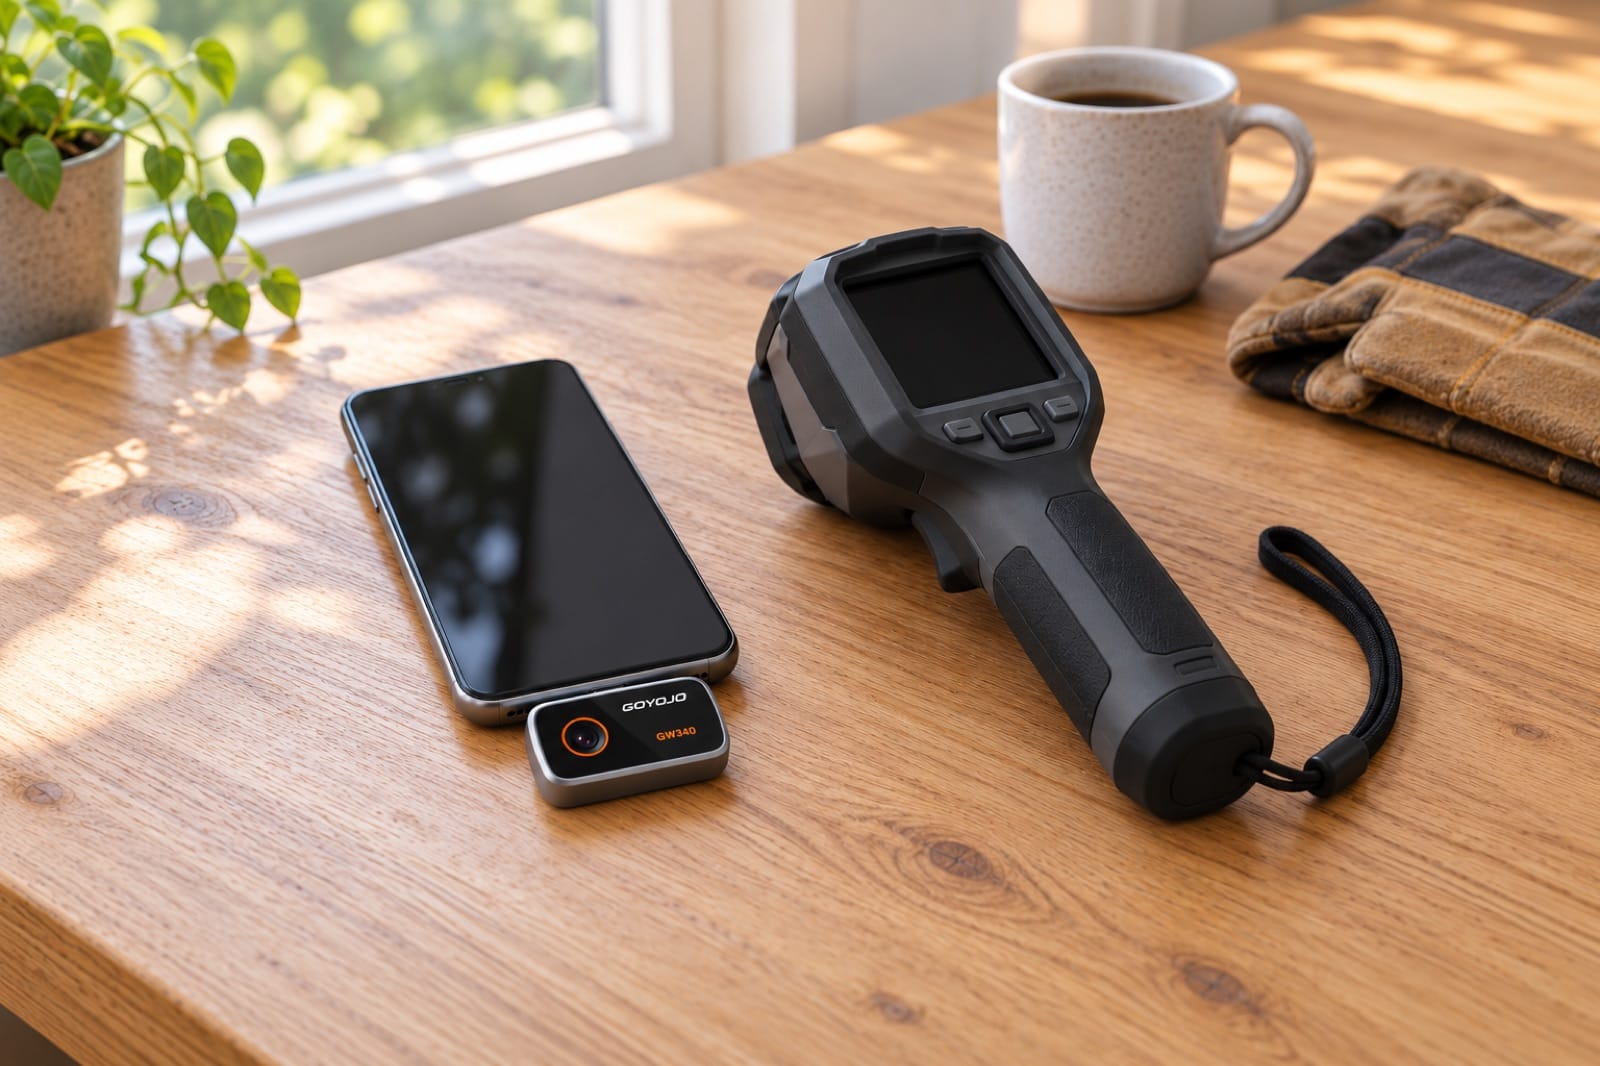
- Spark Pro — shows hot pipes and heating lines across the whole wall in one frame.
- Spark — the same colors and app, best when you scan close to the spot.
- Reach 360 — a steerable inspection camera to look inside the wall through an 8 mm (5/16 in) hole.
For a full set, the Whole Home Kit puts Spark Pro, the Reach 360 inspection camera and the Damp moisture meter together, for 10% less than buying them separately.
Know what's behind the wall before you drill. Order Spark Pro, or get the Whole Home Kit with Reach 360 to look inside first.